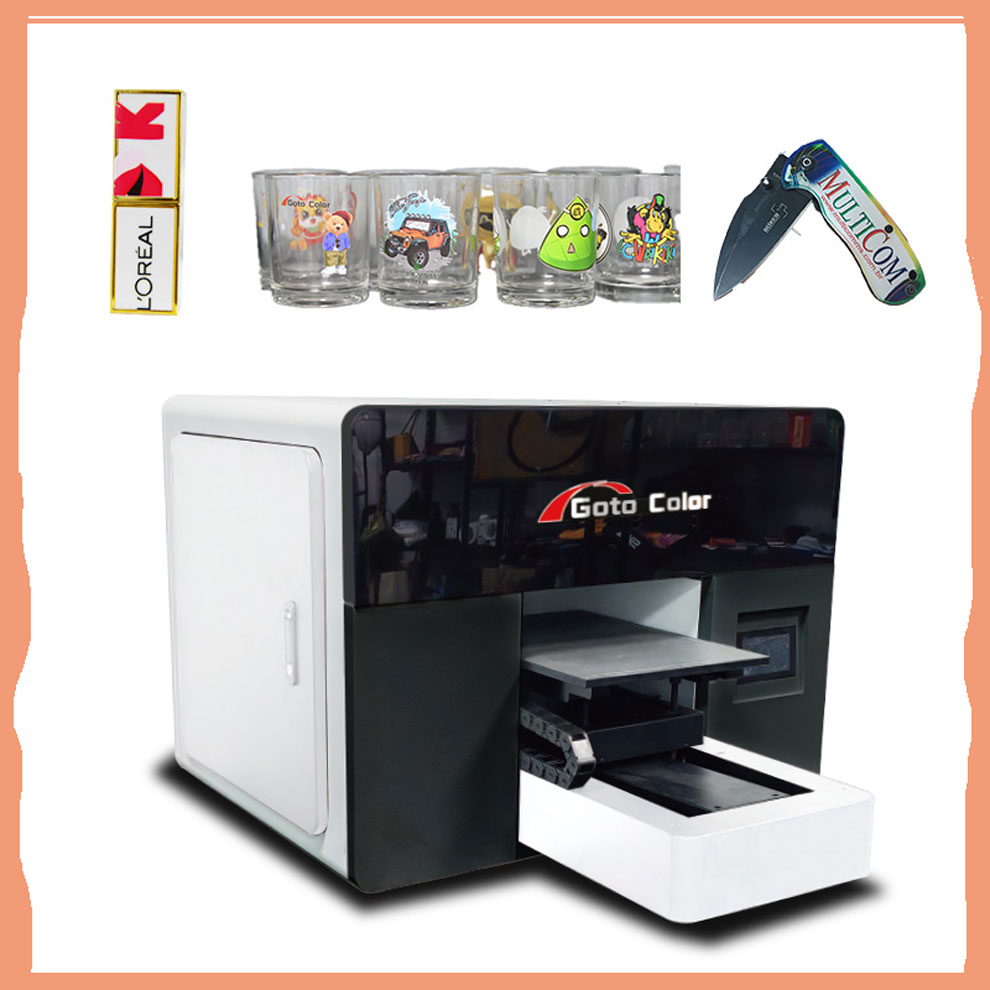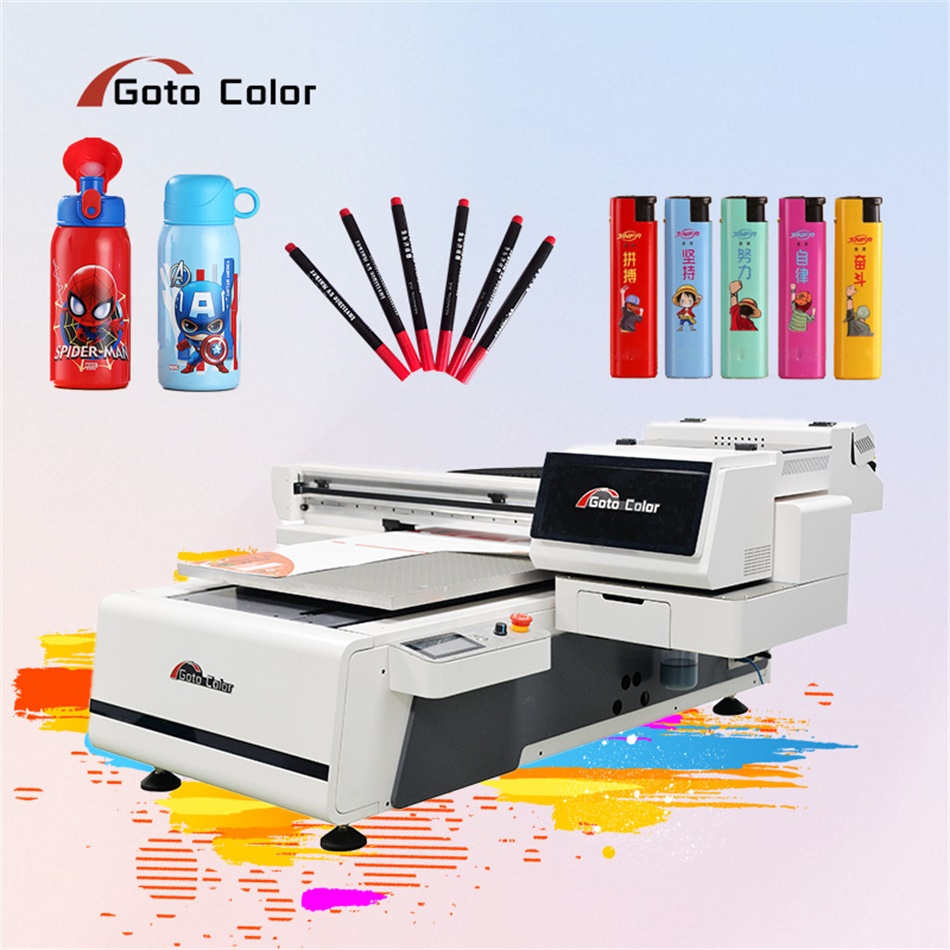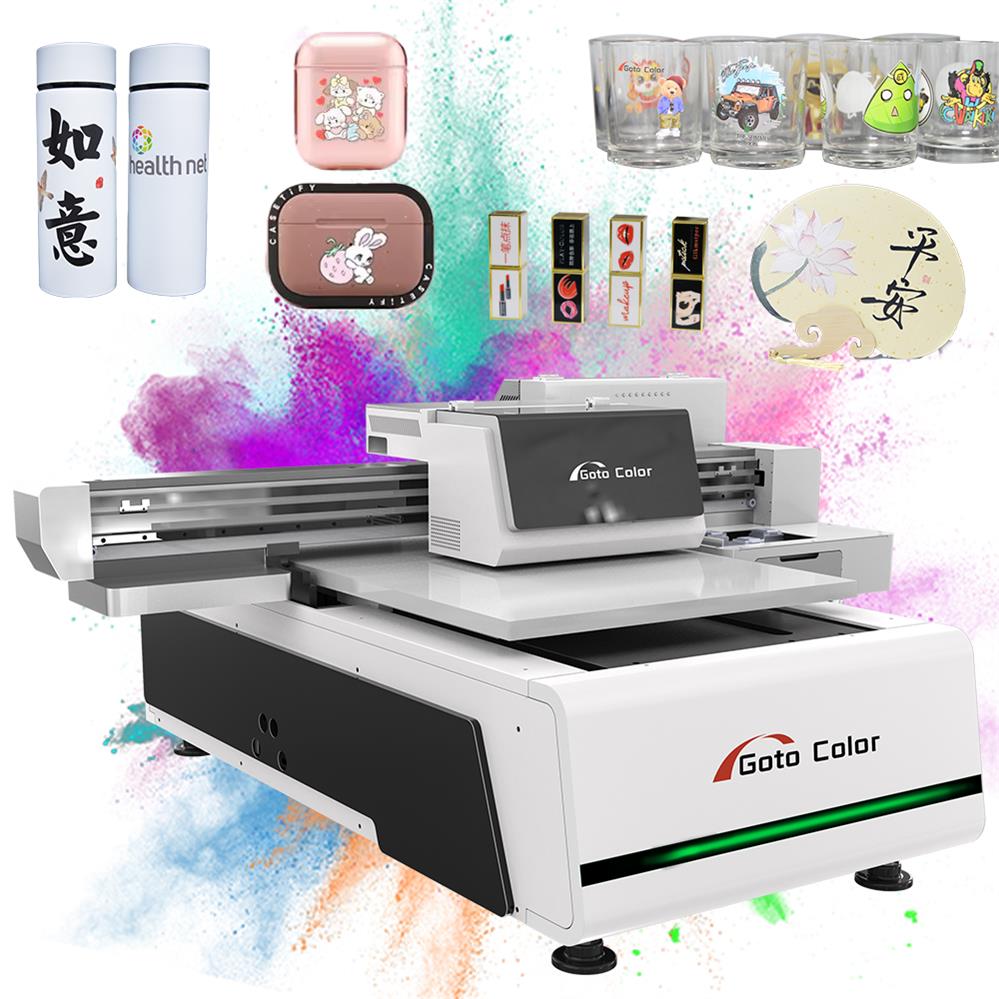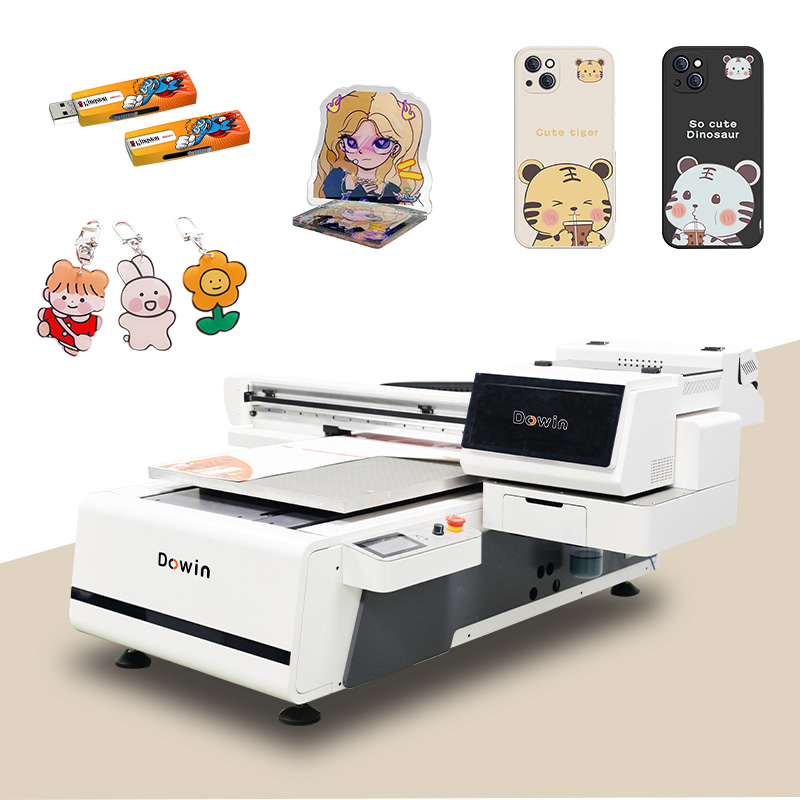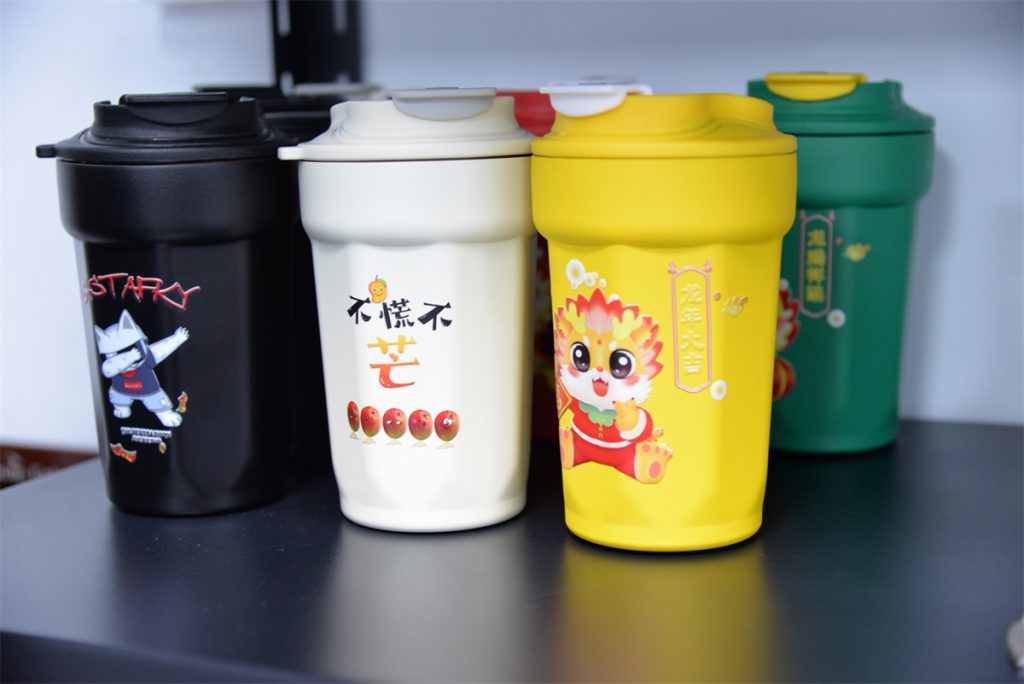
UV DTF cup wraps are custom printed graphics applied to drinkware such as tumblers, mugs, and other cups. These wraps deliver vibrant designs with strong adhesion and are ideal for personalization or small-batch production. UV DTF stands for ultraviolet direct-to-film, meaning ink is printed on special film and cured with UV light before being transferred to a surface.
Contents
What You’ll Need
To create and apply UV DTF cup wraps, gather the following:
- Custom artwork sized for your cup
- UV DTF printable film
- A printer equipped for UV ink curing or a service that prints on this film
- A clean cup (glass, metal, or plastic)
- Tools for applying the wrap (squeegee, credit card, etc.)
- Cleaning materials such as alcohol wipes
Design and Print Your Wrap
- Measure the Cup: Determine the circumference and height of the area you want to cover on your cup. This ensures your design will wrap around properly without gaps or distortion.
- Create Your Artwork: Use graphic design software to build the wrap at the correct dimensions. Save it at a high resolution (around 300 dpi) so the printed design is sharp.
- Print on Film: Load the printable side of the UV DTF film into your UV-capable printer. Print the design with full color and any white or clear layers needed for opacity and brightness. The printer’s UV lights will cure the ink instantly as it prints.
- Laminate for Adhesive: After printing, apply the adhesive film (often called B-film) over the printed sheet using a laminator or hand roller. This step bonds the adhesive to your printed design and makes it behave like a durable sticker.
- Cut to Size: Trim the printed and laminated wrap to match your measured height and width. Leave a slight margin if you prefer a small gap instead of overlap.
Prepare the Cup
Before applying the wrap, make sure the surface is clean and dry:
- Wash the cup to remove dust or oils.
- Wipe the wrap area with isopropyl alcohol and a lint-free cloth so the adhesive bonds well.
- Do not touch the cleaned area with bare fingers after wiping.
Applying the Wrap
- Expose the Adhesive: Peel the backing from the laminated wrap to reveal the sticky side. Be careful not to let oils from your fingers contaminate the adhesive.
- Align on the Cup: Position one edge of the wrap where you want it on the cup. Lightly tack it in place before fully applying.
- Wrap Smoothly: With your free hand or a squeegee, press the wrap from the center toward the edges to avoid air bubbles. Apply even, consistent pressure to ensure a flat, clean application.
- Firmly Bond: Once positioned, use firm pressure across the entire wrap to help the adhesive form a strong bond with the cup surface.
- Remove Transfer Film: Slowly peel away the clear top film at a low angle so the printed design stays firmly on the cup surface. If any part lifts with the film, press it back down and peel again more gently.
Aftercare and Tips
- Let the wrap set for at least 12–24 hours before washing or heavy use. This allows the adhesive to fully cure.
- Hand wash the wrapped cup with mild soap and avoid dishwashers or soaking to prolong the life of the design.
- If the surface is curved or tapered, take extra care during application to prevent wrinkles or misalignment.
Final Notes
UV DTF cup wraps provide a vibrant, durable way to customize drinkware without complex heat presses or specialized machinery after printing. With careful measurement, proper surface prep, and slow, smooth application, you can achieve a professional result suitable for gifts, products for sale, or personal projects.