Printing professional-quality PVC cards requires specialized knowledge and techniques. Whether you’re creating employee badges, membership cards, or event passes, choosing the right method is crucial for achieving durable and visually impressive results. This guide breaks down the core technologies and essential steps to ensure your cards look and last their best.
Comparing Core Printing Technologies
Your choice of printing method directly impacts quality, durability, and cost. Here’s a comparison of the most common technologies:
| Technology | Best Use Case | Print Quality | Durability | Cost Per Card |
|---|---|---|---|---|
| Direct-to-Card (DTC) | High-volume, cost-effective runs (e.g., basic IDs, loyalty cards). | Good, with a small unprinted border. | Moderate | Low |
| Retransfer | Premium, edge-to-edge designs (e.g., security badges, high-end gift cards). | Excellent | High | Medium |
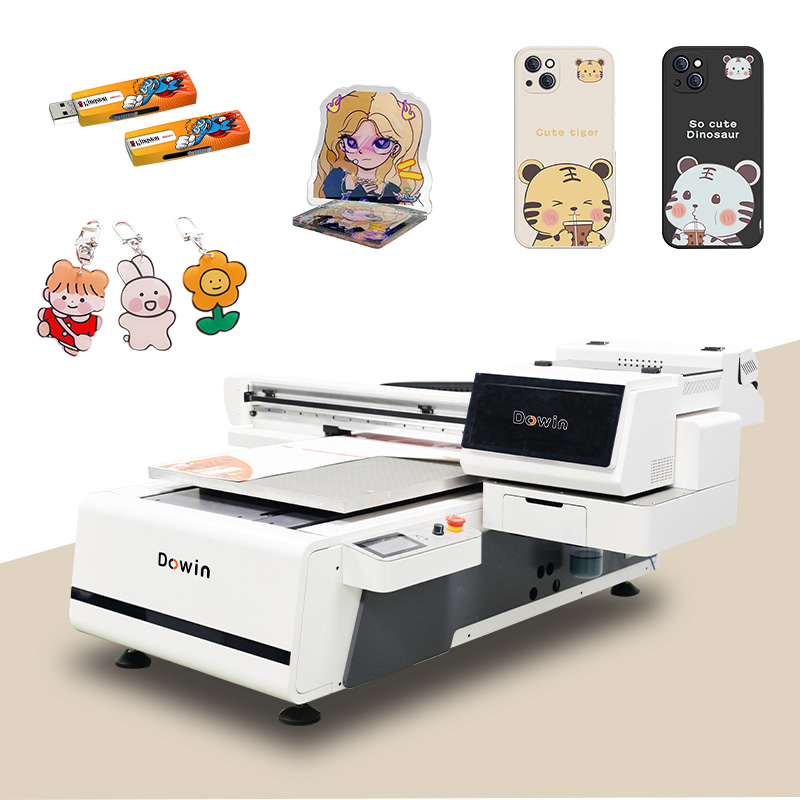
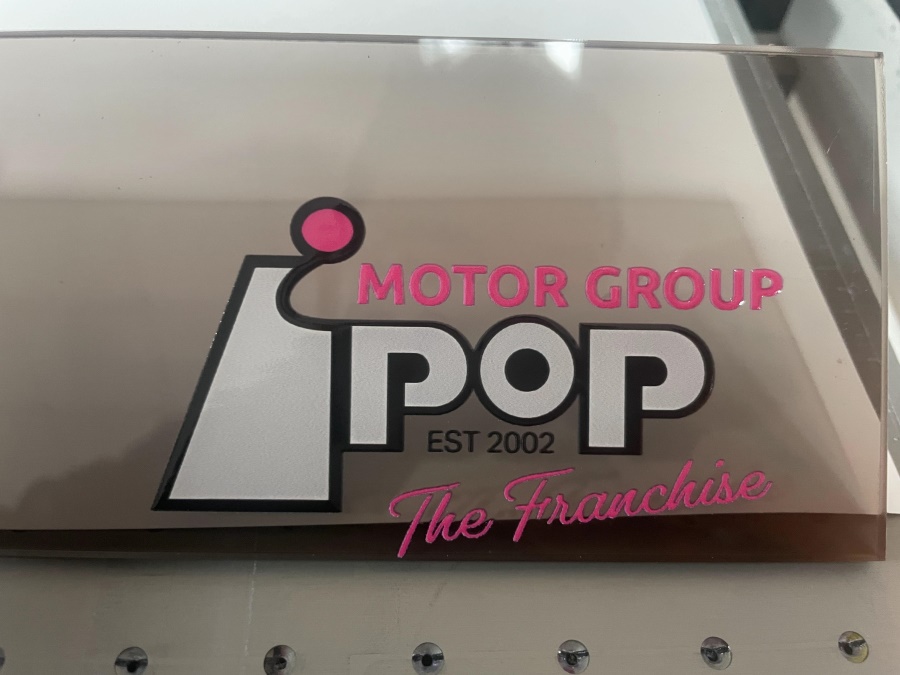
| UV Flatbed | Custom, small-batch jobs or cards requiring special effects. | Excellent | Very High | High |
| UV-DTF Transfers | On-demand, small-run projects without owning industrial equipment. | Excellent | High | Varies (Low-Medium) |
Key Takeaways:
- For high-volume, standard jobs like employee IDs, Direct-to-Card (DTC) dye-sublimation is the efficient and affordable workhorse.
- If you need flawless, borderless printing—especially for cards with embedded chips—Retransfer printing is the superior choice.
- UV Flatbed printers offer great versatility for short runs and unique materials.
- UV-DTF Transfers are a modern, accessible solution for obtaining professional-grade results without investing in a printer. You simply apply a pre-printed, durable transfer onto a blank card.
Essential Design and File Preparation
A flawless print starts with a correctly prepared digital file. Follow these foundational rules to avoid common issues like blurry text or incorrect colors:
- Use the Correct Specifications:
- Size: Standard CR80 card dimensions are 85.6mm x 54mm (3.375″ x 2.125″).
- Resolution: Always set your file to 300 DPI (dots per inch).
- Color Mode: Design in CMYK mode, not RGB, to ensure your on-screen colors can be accurately reproduced by the printer.
- Incorporate Bleed and Safe Zones:
- Bleed: Extend your background design 3mm (0.125 inches) beyond the card’s edge. This area is trimmed off, guaranteeing a clean, edge-to-edge print.
- Safe Zone: Keep all critical text and logos at least 3mm inside the trim line to prevent them from being cut off.
- Finalize Your File Correctly:
- Convert all text to outlines/curves to preserve font integrity.
- Embed all linked image files to ensure high-resolution data is included.
The Printing and Finishing Process
The final step involves the hands-on application of your chosen method. While each technology has specific steps, UV-DTF transfers exemplify a simple, high-quality DIY approach:
- Your design is professionally printed onto a special adhesive film.
- You receive the ready-to-use transfers.
- You peel the graphic, position it on the PVC card, apply heat and pressure with a standard heat press, and then remove the backing film.
For maximum durability, especially for cards handled frequently, consider adding a protective lamination overlay after printing.
Final Tip: Start by clearly defining your project’s priority: is it low cost, top-tier quality, or small-batch flexibility? This will point you to the best method. Don’t hesitate to order samples or test prints to see and feel the results before committing to a full production run.