Buying your first flatbed UV printer is exciting but can be overwhelming. This guide breaks down the essential features you need to understand, focusing on what truly matters for starting a successful print business.
Contents
The 5 Most Important Features for Beginners
Forget the long spec sheets. As a beginner, prioritize these five core features that will make or break your daily operation and print quality.
| Feature | What It Is | Why It Matters for Beginners | What to Look For |
|---|---|---|---|
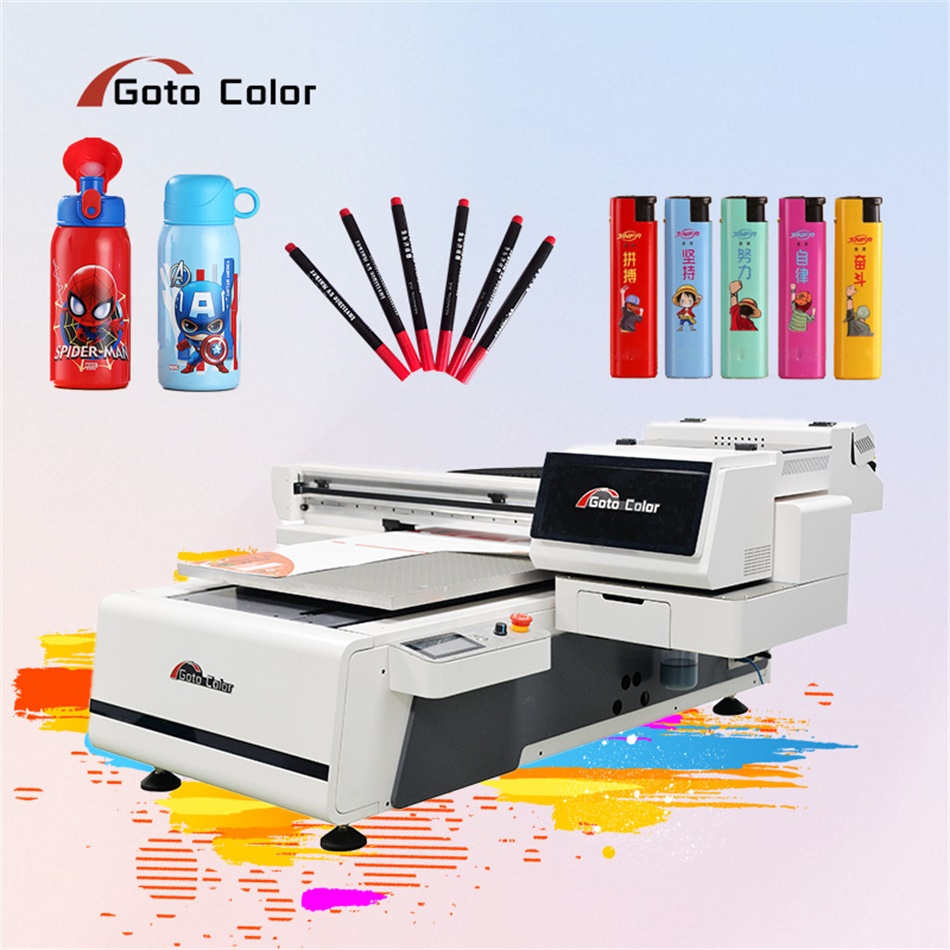
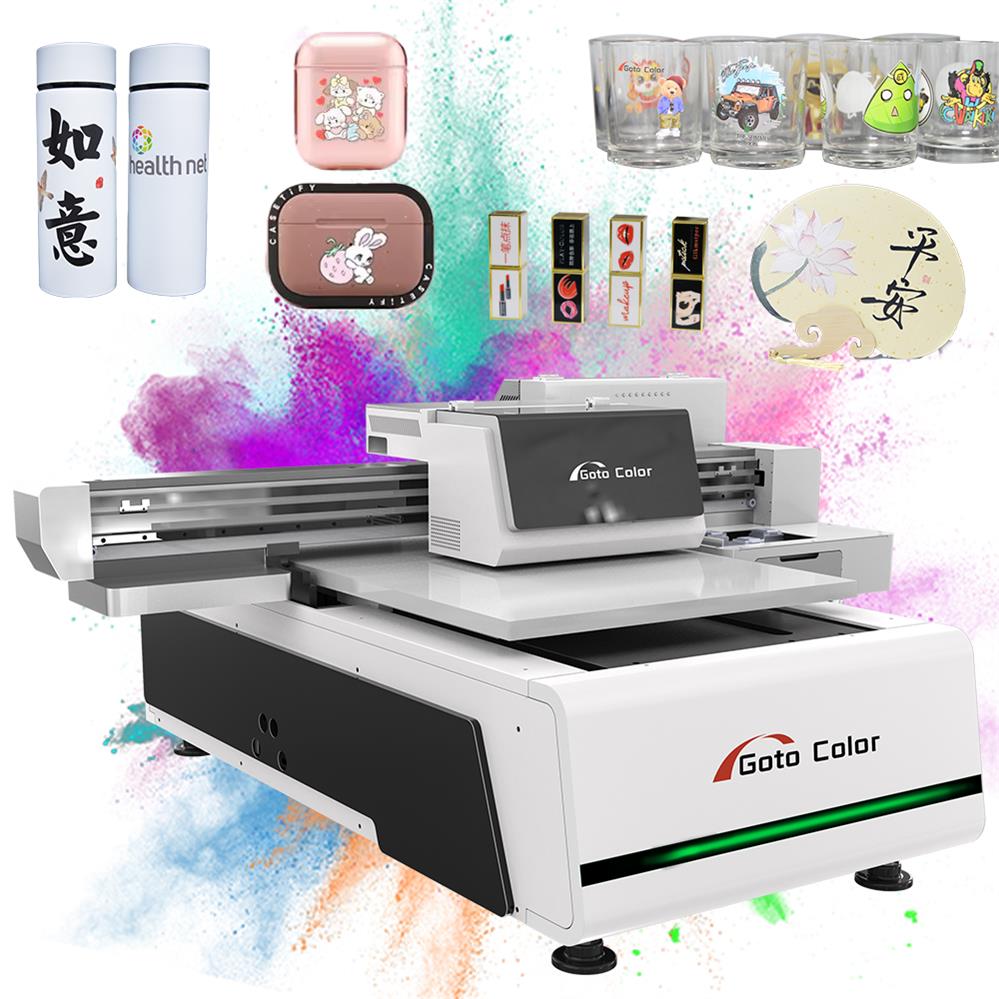
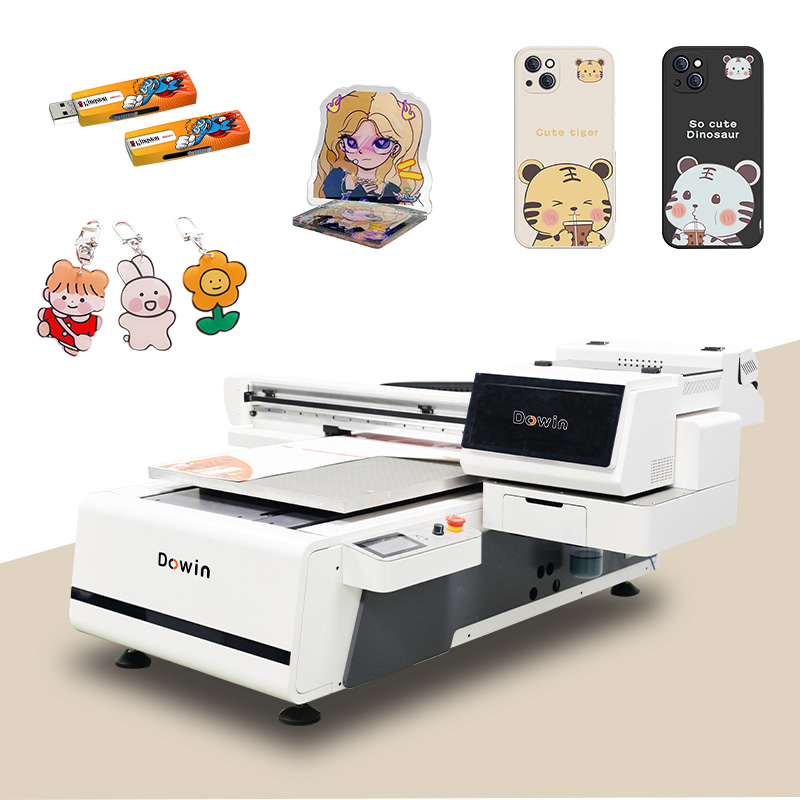
| 1. Print Area (Bed Size) | The maximum dimensions of material you can print on (Width x Length). | Dictates your product range. Too small, and you can’t fulfill common orders; too large, and you waste money and space. | Start with a 6090 (60cm x 90cm / 24″ x 35″). It’s the industry’s “sweet spot,” handling ~80% of common signage, awards, and custom products. |
| 2. Print Head Type & Count | The component that deposits ink. Type = technology (e.g., Epson, Ricoh); Count = how many. | Directly impacts speed, quality, and reliability. The print head is the printer’s “engine.” | Type: Ricoh Gen 5/6 or Epson DX7/DX8 heads offer the best balance. Count: 2-3 heads minimum. More heads = faster printing, especially for white ink. |
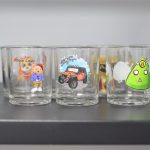
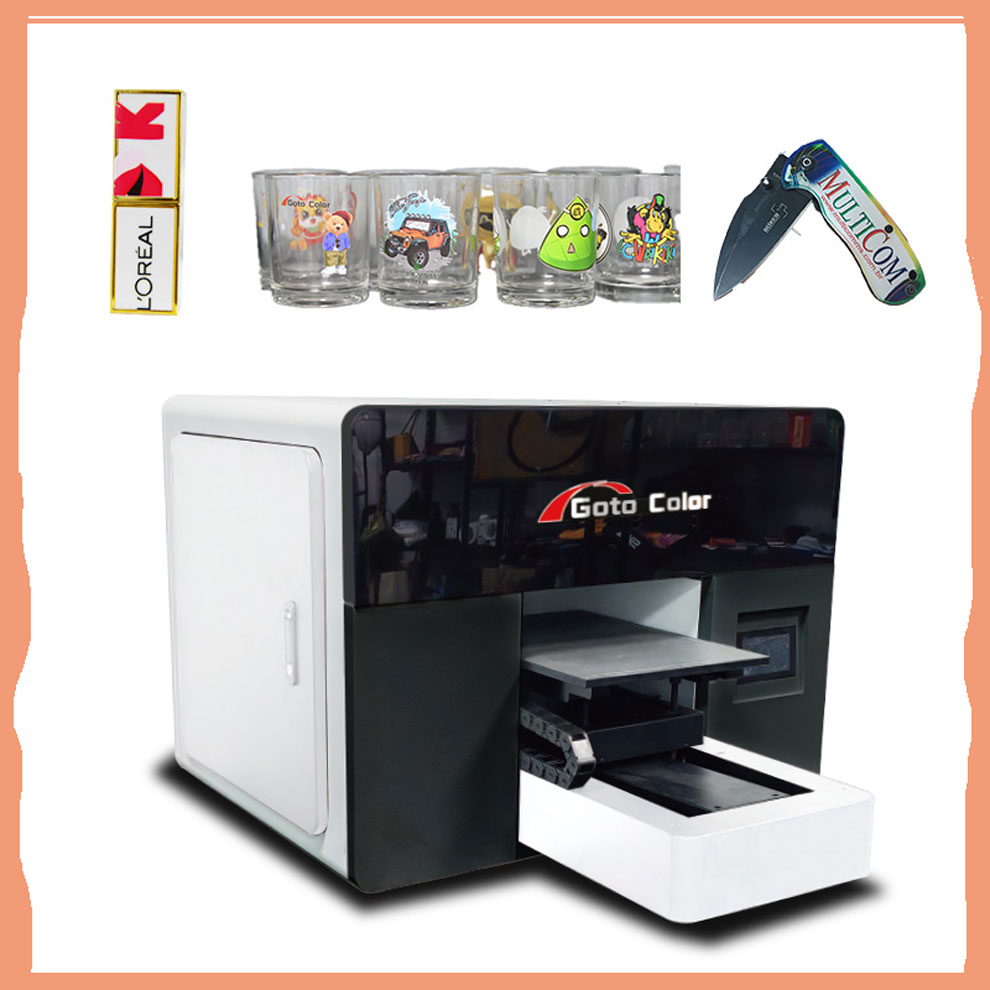
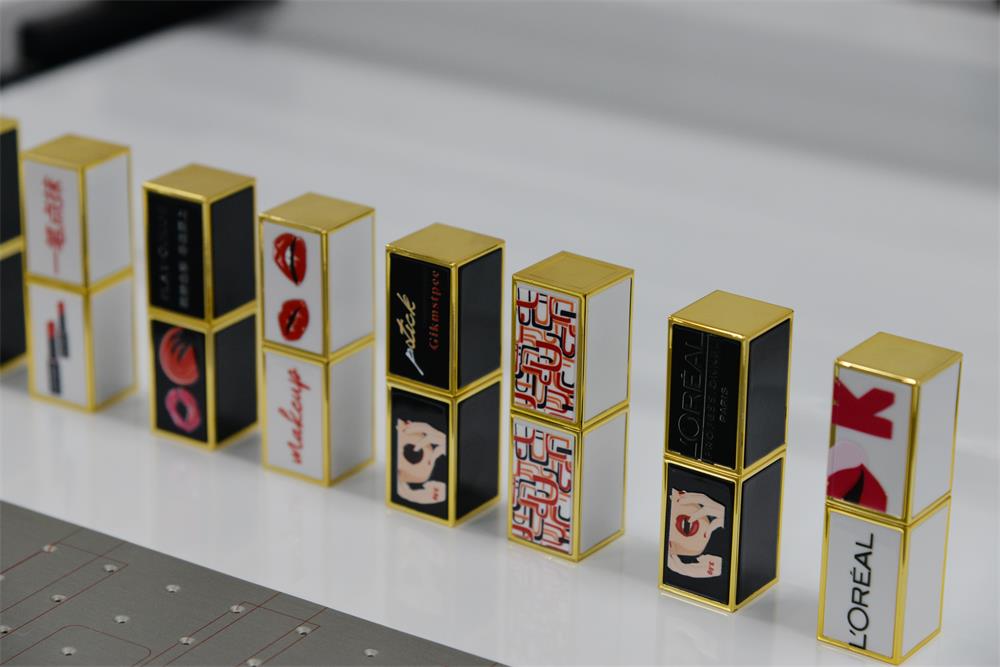
| 3. Ink System (CMYK+W) | The color channels the printer uses: Cyan, Magenta, Yellow, Black, plus White (W). | White ink is non-negotiable. It allows printing on dark/clear materials (e.g., black phone cases, clear acrylic). | A true CMYK + White configuration. Ensure the white ink has an automatic circulation system to prevent clogs. |
| 4. Z-Axis (Height) & Auto Focus | The vertical travel of the print head to accommodate thick materials. Auto Focus maintains optimal distance. | Allows you to print on 3D objects and varied material thicknesses. Auto Focus is crucial for consistent quality. | Minimum 10-15cm (4-6″) of Z-axis travel. Laser or capacitive auto-focus sensor is essential – don’t rely on manual adjustment. |
| 5. Software & RIP | The Raster Image Processor (RIP) software that drives the printer, manages color, and prepares files. | A bad RIP makes printing frustrating and wastes materials. It’s the “brain” of your operation. | User-friendly interface (e.g., ONYX, Ergosoft, Wasatch). Ensure it’s included and comes with basic training. |
Understanding the Complete Machine: A Feature Glossary
Once you’ve grasped the “Big 5,” here’s what other key terms mean for your business.
Mechanical & Construction Features
- Vacuum Bed: Holds flat materials in place. Look for a zonal vacuum (sections you can turn on/off) to save energy on smaller pieces.
- Linear Guide Rails: The tracks the print head moves on. Industrial-grade steel rails are a must for precision and long-term durability.
- Curing System: UV-LED lamps that instantly dry the ink. LED is standard—it’s cooler, uses less energy, and lasts longer than old mercury lamps.
Performance & Quality Features
- Native Resolution: The printer’s highest physical dot-per-inch (DPI) capability. 600-1200 DPI is standard. Higher DPI means finer detail but slower speed.
- Print Speed: Often listed in “passes.” Fewer passes = faster but potentially lower quality. A machine that can produce good quality at 4-8 passes is ideal for production.
- Color Gamut: The range of colors it can produce. This is heavily influenced by the RIP software and ink quality.
Essential “Beginner-Friendly” Features
- Auto Head Cleaning: A system that automatically flushes the print heads to prevent clogs during idle times. This saves huge headaches and ink.
- Ink Level Monitoring: A software feature that shows real-time ink levels to prevent running out mid-print.
- Material Presets: Saved profiles in the RIP for different materials (e.g., “3mm Acrylic,” “Aluminum”). This ensures consistent results without guesswork.
The “Hidden” Costs Checklist (Beyond the Sticker Price)
Your investment is more than the machine. Before you buy, budget for these essentials:
| Cost Category | What It Includes | Estimated Cost |
|---|---|---|
| 1. Initial Consumables | Starter ink sets, spare print heads, maintenance kits, cleaning fluids. | $800 – $2,000 |
| 2. Installation & Training | Professional setup and basic operator training (often extra). | $500 – $1,500 |
| 3. Essential Accessories | Material handling cart, air compressor (for cleaning), calibration tools, UV-protective glasses. | $300 – $1,000 |
| 4. Substrate & Testing Stock | Your first batch of materials (acrylic, wood, etc.) to practice and start production. | $500 – $2,000 |
| 5. First-Year Maintenance | Service contract or budget for potential parts replacement. | $1,000 – $2,500 |
Total “Hidden” Startup Cost: ~$3,100 – $9,000
Step-by-Step Buying Process for Beginners
- Define Your “Hero Product”: What 1-2 items will you sell most? (e.g., custom coasters & small signs). This determines your needed print area.
- Set Your Real Budget: Machine Price + Hidden Costs (above) + 10% buffer.
- Find 3 Reputable Suppliers: Search for dealers of brands like Dowin, Kingjet, Atexco for value, or Mimaki, Roland for premium. Read recent reviews.
- Request a “Real Sample” Test: Send them your “Hero Product” file and material. See “How to Test UV Printer Samples Before Buying“.
- Compare Post-Sale Support: The best warranty is useless without good support. Ask: “What is your response time for technical support?” and “Do you have video tutorials?”
Red Flags to Avoid
- 🚩 No White Ink Option: This severely limits your potential product line.
- 🚩 Vague or Short Warranty: Look for a clear 1-year warranty on parts and labor.
- 🚩 Supplier Avoids Sample Requests: A confident supplier will want to showcase their machine’s quality.
- 🚩 No Basic Training Included: You are not expected to be an expert on day one.
- 🚩 Unrealistically Low Price: If it’s 30% cheaper than all competitors, critical corners have been cut.
Final Beginner’s Tip: Think “ROI,” Not Just “Tech”
Don’t get lost in technical specs. Constantly ask: “How will this feature help me make money or save time?”
- A larger bed (6090 vs. 6040) = You can take larger, more profitable orders.
- A reliable auto-clean system = Less downtime and wasted ink.
- Good software with presets = Faster job setup and consistent quality for happy customers.
Your first flatbed UV printer is a business tool, not just a piece of tech. Choose the machine that gives you the most reliable and versatile path to producing quality products for your customers. Focus on the “Big 5” features, account for all costs, test rigorously, and partner with a supplier who supports your growth.