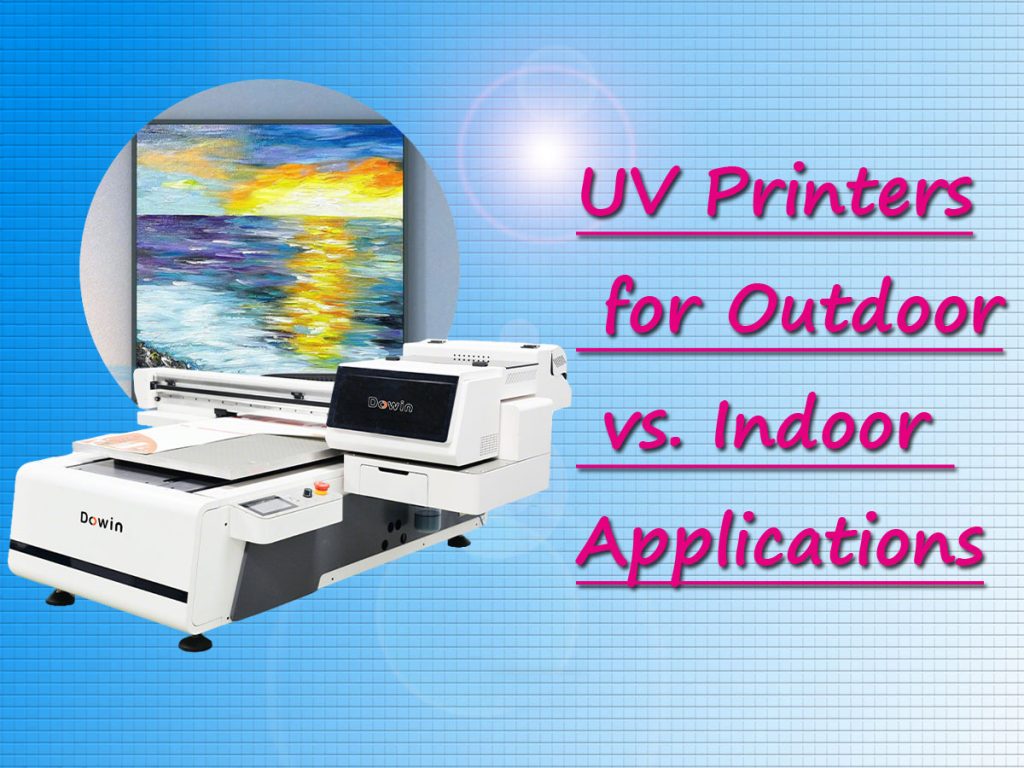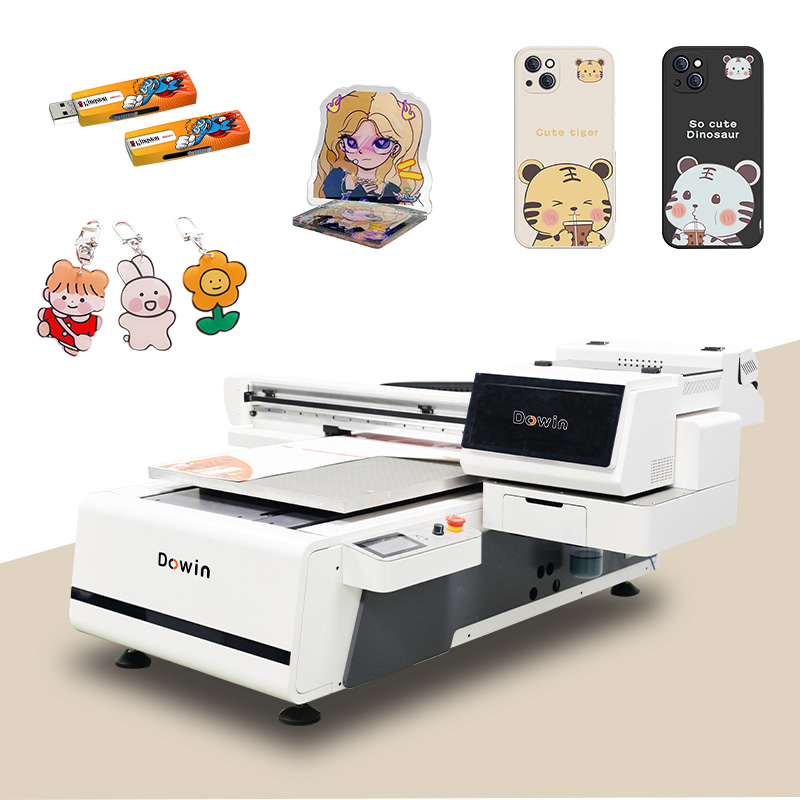
Customizing phone cases with UV printing has become one of the most versatile and profitable digital print applications. UV printing lets you apply vibrant, durable designs directly onto hard, smooth surfaces like plastic, silicone, TPU, or polycarbonate — materials typically used for phone cases. The technology instantly cures ink with ultraviolet light, eliminating drying time and delivering detailed graphics with excellent durability.
Below is a complete, brand-free explanation of the process, equipment needs, workflow, common challenges, and business-centric opinions on maximizing quality and profitability.
Contents
Why UV Printing Works Well for Phone Cases
Unlike heat-transfers or sublimation (which require specialized substrates), UV printers print directly onto the case surface, bonding instantly with a wide variety of materials such as hard plastics and silicone. This makes them ideal for on-demand customization, especially for short runs or personalized orders.
Personal view: In my experience, UV printing offers both product flexibility and higher perceived value compared with traditional sticker or heat transfer methods — but only if you control the setup and curing properly from the start.
Step 1 — Choosing the Right UV Printer Features
Not all UV printers are equally suited for phone case production. The features you need include:
1. Precise Alignment System
A visual alignment or scanning system helps ensure your design lands exactly where it should on every case, even if cases are placed manually on the bed. This reduces setup time and waste.
2. Automatic Height Adjustment
Different cases vary in thickness. A UV printer with automatic height sensing or adjustable Z-axis simplifies work with multiple case types without manual calibration.
3. Reliable Printheads and Ink
Industrial-grade printheads produce fine details and smooth gradients. UV inks need flexible adhesion so they don’t crack or peel when the phone case is bent or handled frequently.
My take: Skimping on printhead quality or curing capability often leads to inconsistent edges, banding, and excessive maintenance, which eats into profitability long-term.
Step 2 — File Preparation and Setup
Before printing, preparation is where most quality issues are introduced:
Clean the Phone Cases
Wipe surfaces with isopropyl alcohol or another degreasing agent to remove oils, dust, and fingerprints. Contaminated surfaces often cause poor ink adhesion.
Design Files
- Create artwork at 300+ DPI resolution for crisp details.
- Use CMYK color mode to ensure accurate color reproduction.
- Include a white ink underbase to support vibrant colors on dark or transparent cases.
Fixtures and Holders
Proper fixtures or jigs secure cases in place during printing. Misalignment at this stage can cause poor edge registration or wasted prints.
Step 3 — Printing Workflow
Here’s how a typical UV phone case printing process unfolds:
- Place Phone Cases: Arrange them securely in the printing area.
- Load and Align Files: Use alignment tools to match the digital design to the physical case layout.
- Configure Print Settings: Choose correct profiles for the material type and ink coverage.
- Print and Cure: UV LED lamps cure ink instantly during printing, stabilizing the design on the substrate.
- Automatic Maintenance: Many systems include nozzle cleaning routines between jobs to avoid clogs.
Tip: Add a white underbase for dark cases and consider layering clear or varnish coatings for enhanced finish options.
Step 4 — Post-Print Inspection and Quality Control
After printing, assess each case for:
- Full curing: Under-cured prints may feel tacky or fail adhesion tests.
- Adhesion: A simple tape test (crosshatch tape) ensures the ink is securely bonded.
- Alignment and edges: Confirm the print matches case contours and cutouts.
- Flexibility durability: Gently bend the case; flexible inks should not crack.
Opinion: Post-print checks aren’t optional — skipping them can lead to poor customer experiences and high return rates, especially for online sellers.
Common Issues and Fixes
| Problem | Likely Cause | Recommended Fix |
|---|---|---|
| Poor adhesion | Dirty case surface or wrong ink | Clean thoroughly, use inks formulated for flexibility |
| Misalignment | Incorrect template or setup | Recheck calibration and alignment workflow |
| Ink cracking | Over-curing or rigid ink | Reduce UV intensity; confirm flexible ink use |
| Color inconsistency | Clogged nozzles or profile mismatch | Perform maintenance cycle; recalibrate profiles |
Personal critique: Many beginners misinterpret color issues as design flaws — often the real problem is inadequate profiling or maintenance, not the artwork itself.
Business Tips for Maximizing Success
Diversify Products
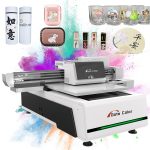
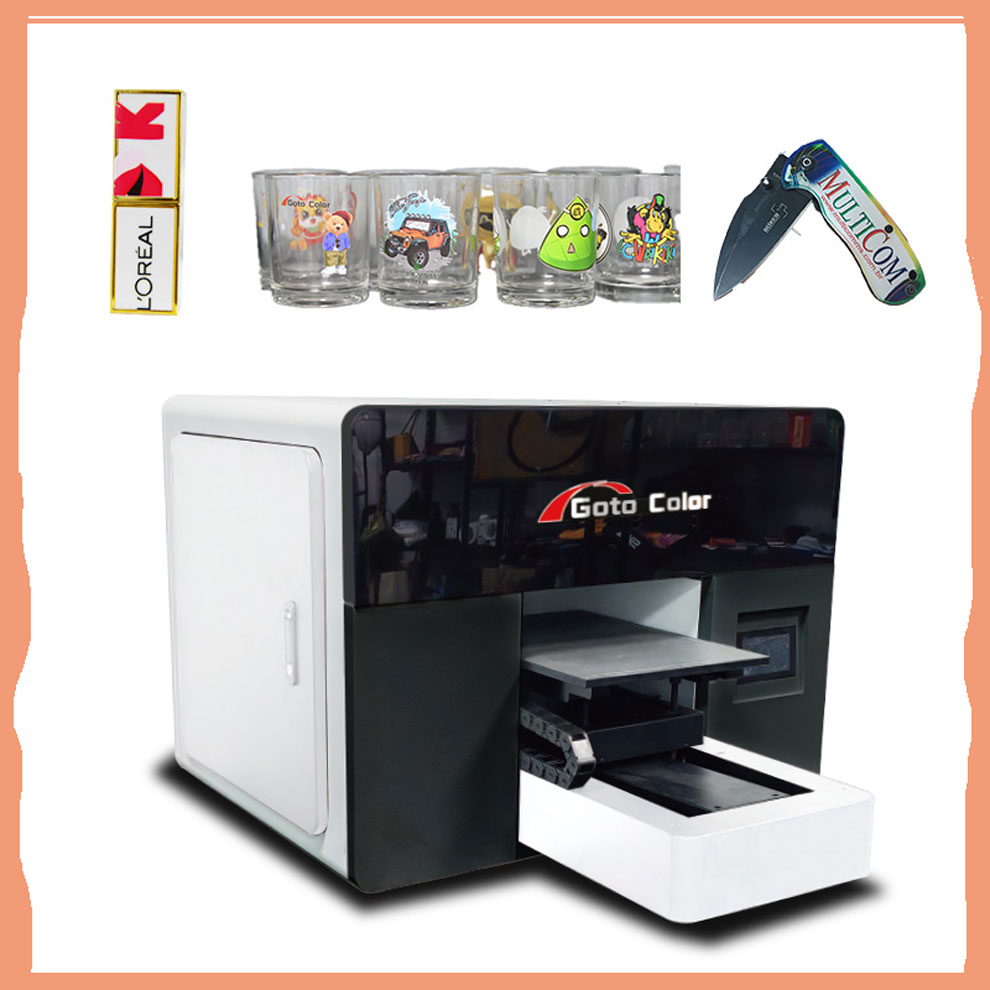
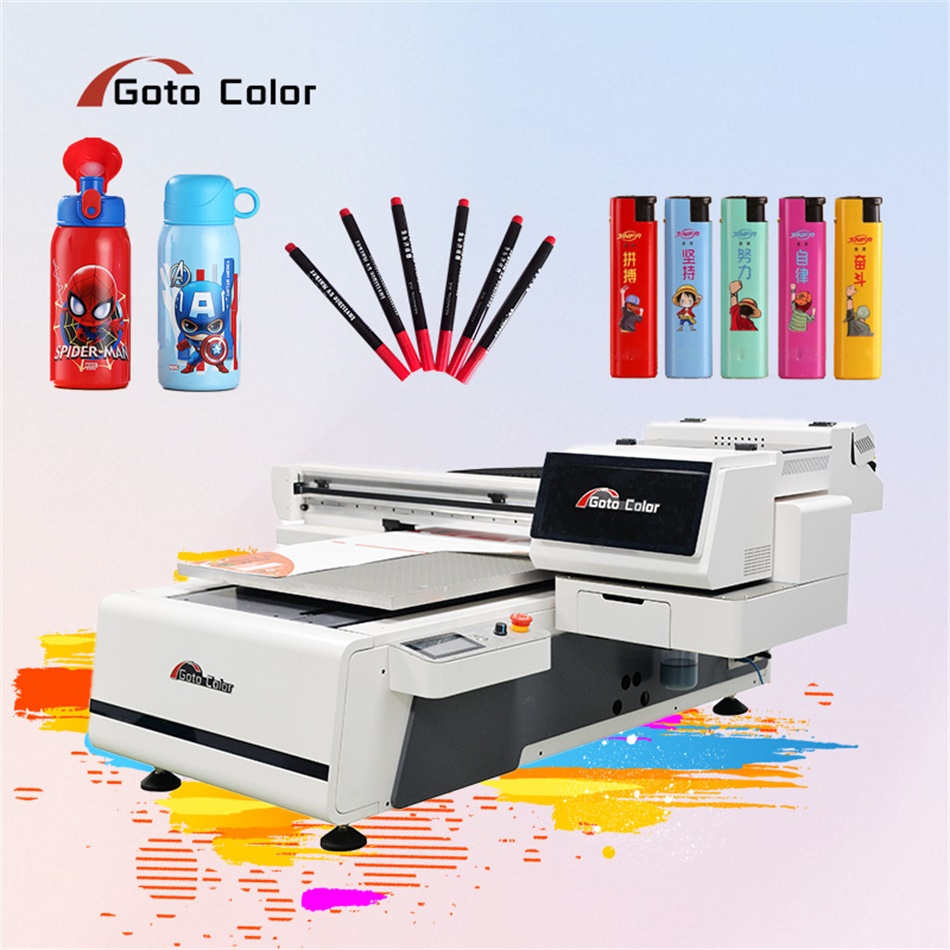
A UV printer can produce more than phone cases — mugs, tiles, signs, and even promotional items are possible, maximizing equipment utilization.
Use Batch Printing
Taking advantage of the full print bed to produce multiple cases at once significantly improves hourly output and lowers cost per unit.
Offer Premium Finishes
Matte, gloss, or textured coatings add perceived value. These finishes can command higher prices if marketed properly.
Market insight: While phone cases were once a booming niche, some shop owners report a decline in demand — so integrating multiple product types with the same equipment is increasingly important for sustainable revenue.
Final Thoughts
UV printing is a powerful, flexible method for customizing phone cases, but it demands careful setup, quality control, and workflow discipline. It’s easy to underestimate how much preparation and calibration influence final output.
Strong viewpoint: UV printing technology removes many barriers to high-quality custom products, but the true differentiator is workflow mastery, not just buying an expensive printer. Phones change models frequently, and consumer tastes shift — staying profitable in customization means combining technical skill with savvy product strategy.