Home › Forums › Digital UV Printing Hub › How I Actually Use a Heat Press Machine – Setup, Settings, and Common Mistakes
- This topic is empty.
-
AuthorPosts
-
19 December 2025 at 7:11 pm #508
Dowinsss
KeymasterReal Talk on Using a Heat Press Machine – What Works for Me
I’ve spent a lot of time with heat presses, and honestly the step-by-step process isn’t as intimidating as it looks once you break it down. The biggest thing I tell anyone new is this: get the basics right first — setup, settings, and prep — and the rest becomes way easier.
Setup and Safety First
Before even thinking about pressing a shirt or tote, make sure your machine is on a stable, heat-resistant table. These units are heavy and throw off a lot of heat, so a flimsy surface or cheap power outlet can ruin your day. Check the power cord and plug because a faulty connection is the last thing you want while you’re dialing in temperatures.
Spend some time familiarizing yourself with the main parts:
-
The upper platen (the hot plate)
-
The lower platen (the cushioned base)
-
The digital controller (for time/temperature)
-
The pressure knob
Getting comfortable with these makes everything that comes after feel much more intuitive.
Temperature, Time, and Pressure — The Holy Trinity
Most mistakes come from not understanding how these three settings interact: heat, dwell time, and pressure. Get one wrong and your transfer either won’t stick, will scorch the fabric, or will peel off after the first wash.
Temperature:
Too low and the adhesive on your transfer never melts properly; too high and you scorch the garment. For example, standard DTF or vinyl on cotton generally sits around the low-to-mid 300°F range, while sublimation onto polyester needs much higher heat.Time:
This is how long the heat and pressure act together. A few seconds too short and you’ll see edges lifting later. A few seconds too long and heat-sensitive fabrics will show discoloration. Always start with the manufacturer’s recommendations and test on scrap material.Pressure:
Pressure is what forces the transfer material into the fibers. Too light and it doesn’t grip; too heavy and you risk crushing the texture of the garment or transfer. Most units have “light, medium, firm” — start in the middle and adjust based on results.Pre-Press and Alignment — Don’t Skip These
A lot of people overlook the pre-press step, but it’s a game changer. Just close the heat press on your blank garment for 3–5 seconds first. That removes invisible moisture and smooths out wrinkles so your transfer lays perfectly flat.
Then carefully align your design. Take your time here — once the platen comes down there’s no shifting without ruining the transfer. Using simple tools like a ruler or folding the garment in half helps keep everything centered.
Protective Layer and Peel Technique
Never press without a protective sheet between the hot platen and your transfer. A piece of parchment paper or a reusable Teflon sheet keeps ink from sticking to the platen and prevents scorch marks on your garment.
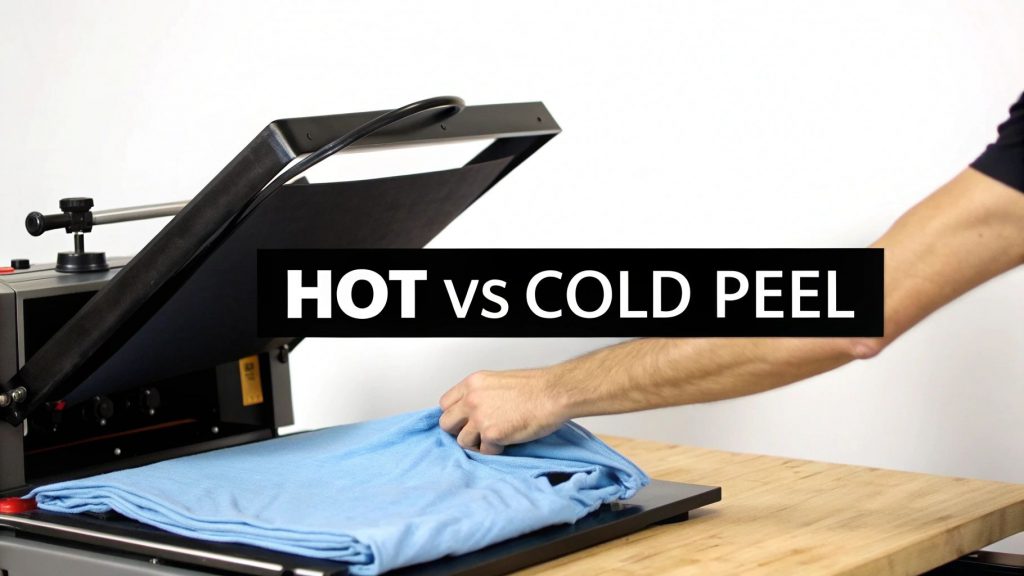
Once the timer beeps and you lift the platen, you’ve got to peel the carrier the right way. Most modern transfers use a hot peel, meaning you remove the film immediately while it’s still warm. Pull at a shallow angle to avoid stretching the fabric or distorting the graphic.
Troubleshooting and Common Issues
Even seasoned operators still hit snags. If your design lifts later, it’s almost always a settings issue — pressure too light, heat too low, or you skipped pre-press.
Scorch marks usually mean the temperature is just too hot for that fabric type, so back it off a bit and use a protective cover. Faded or patchy transfers are usually uneven heat or inconsistent pressure — sometimes caused by cold spots on the platen. The “paper test” (placing small strips at each corner and checking resistance) helps reveal uneven pressure before you press a real project.
Final thought: Treat heat pressing like baking — it’s all about control and consistency. Understand your materials, test often, and make little adjustments until you get results you can rely on. Once you do, you’ll be amazed how repeatable good results become.
-
-
AuthorPosts
- You must be logged in to reply to this topic.