Home › Forums › Digital UV Printing Hub › Best Practices for Direct-to-Film (DTF) Printing on Black T-Shirts
Tagged: DTF Printing, T-Shirts Printing
- This topic is empty.
-
AuthorPosts
-
20 January 2026 at 6:31 pm #849
Dowinsss
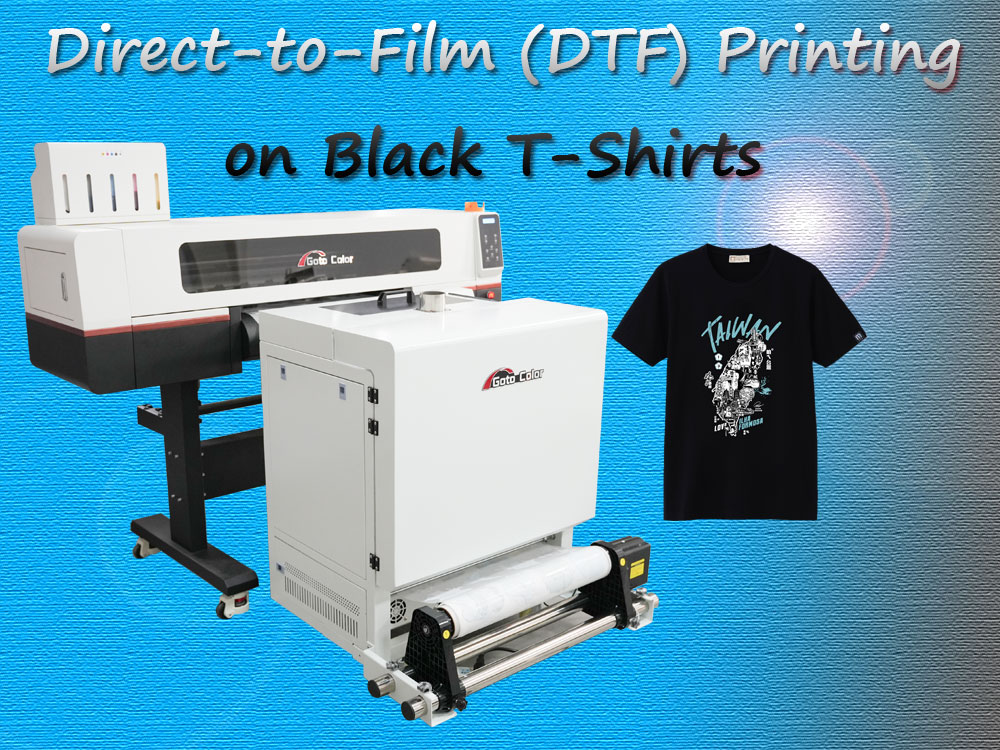
KeymasterComprehensive Guide: Best Practices for Direct-to-Film (DTF) Printing on Black T-Shirts
Direct-to-Film (DTF) printing has become one of the fastest-growing methods for applying vibrant, durable graphics on apparel — particularly on dark garments like black T-shirts. Unlike some other decorating systems, DTF doesn’t rely on fabric pre-treatment, supports a wide range of textiles, and can deliver eye-catching results that hold up well in everyday use.
What Makes DTF Ideal for Black Fabrics
One of the core technical challenges with printing on black or dark garments is achieving high contrast and vivid colors. When inks are applied directly to dark fibers, they can absorb or mute pigments, reducing the visual impact of the design. DTF circumvents this limitation by first printing a layer of white ink beneath the colored ink layers on a transfer film. This white underbase acts as an opaque foundation, preserving color vibrancy and detail once transferred.
From an industry perspective, this forward compatibility with colored and dark fabrics contributes to DTF’s growing adoption. Many small-to-medium print shops now use it alongside or instead of direct-to-garment (DTG) systems because it eliminates the pre-treatment step and reduces per-piece labor costs.
Step-by-Step DTF Printing Workflow for Black T-Shirts
1. Prepare Your Graphic File
Begin by creating or selecting a high-resolution design. Make sure your file is in a print-ready format (300 DPI or above) and setup in color space that supports accurate separation of the white underbase and CMYK layers. Transparencies should be handled carefully so only desired art transfers later.
2. Print on Transfer Film
Load the DTF transfer film into your printer, and output the artwork in this order:
-
First, the color image in CMYK.
-
Second, a dedicated white layer underneath or above (depending on workflow) to provide opacity on black fabric.
Using software that allows precise control over ink flow and saturation is critical here because black garments absorb light and may require heavier ink deposition to achieve brilliance.
3. Apply Adhesive Powder
While the printed film is still wet, dust a thermally activated adhesive powder evenly over the design. This powder is vital — it melts during curing to bond the ink to the fabric. Ensure full coverage but avoid clumps, as uneven powder can lead to adhesion issues later.
4. Cure the Adhesive
Curing is usually done at around 160–165 °C for a few minutes. The goal is to melt the powder and form a smooth, glassy surface on the film. You can use either a dedicated curing oven or a heat press set to non-contact mode (top platen lifted) to prevent smudging.
5. Transfer to the Shirt
Lay your black shirt flat and wrinkle-free on the heat press. Place the cured film (design facing the fabric) and apply firm pressure at approximately the same temperature for ~15–20 seconds. Then allow a short cooling interval before peeling the film off.
6. Optional Post-Press
To enhance durability and wash resistance, many printers recommend a brief secondary press with protective paper or sheet between the platen and the shirt. This helps “lock in” the design further.
Maximizing Print Quality & Longevity
Achieving vibrant, lasting prints on black shirts often hinges on three factors:
White Underbase Strategy
A strong, opaque white layer is essential. Some operators choose to double-lay white ink for darker fabrics to ensure even coverage. Improper white deposition can result in muted colors or uneven tones.Heat & Pressure Control
Consistent application of heat and pressure, tailored to the fabric type, ensures solid adhesion and long-term performance. Lower-quality transfers often come from inconsistent settings or rushed press cycles.Material Quality
Film quality, ink formulation, and adhesive powder grade all matter. Higher-grade materials not only produce better initial results but also improve wash durability and minimize hand-feel thickness.Industry Perspectives: Benefits and Limitations
преимущества
-
Versatility — Works on cotton, polyester, blends, and even non-traditional textiles like nylon or canvas.
-
Dark Garment Compatibility — White underbase allows vibrant prints on black shirts without complex pre-treatment.
-
Workflow Flexibility — Printing and transfer steps are decoupled, enabling batch production of designs on film before application to garments.
ограничения
-
Hand-Feel & Thickness — The transferred layer can be perceptible on the shirt surface, which some end users may find less soft than sublimation or screen prints.
-
Learning Curve — Achieving consistent adhesive and color performance requires careful calibration and experience.
-
Not Ideal for Very Large Runs — Traditional screen printing may still outperform DTF on very high-volume, low-cost production jobs.
Conclusion: Real-World Application & Strategic Use
DTF printing on black shirts is powerful because it unlocks vibrant designs across a wide spectrum of fabrics, without needing garment pre-treatment. For small-to-medium apparel businesses, on-demand shops, and custom orders, it offers a compelling mix of versatility and quality. However, mastery of the process and awareness of its tactile limitations are essential for professional results.
Well-executed DTF prints can rival traditional methods in visual appeal and durability, but selecting the right applications (e.g., mid-size runs, mixed-material orders) remains key to maximizing ROI and customer satisfaction.
-
-
AuthorPosts
- You must be logged in to reply to this topic.